How To Build A Kitchen Table

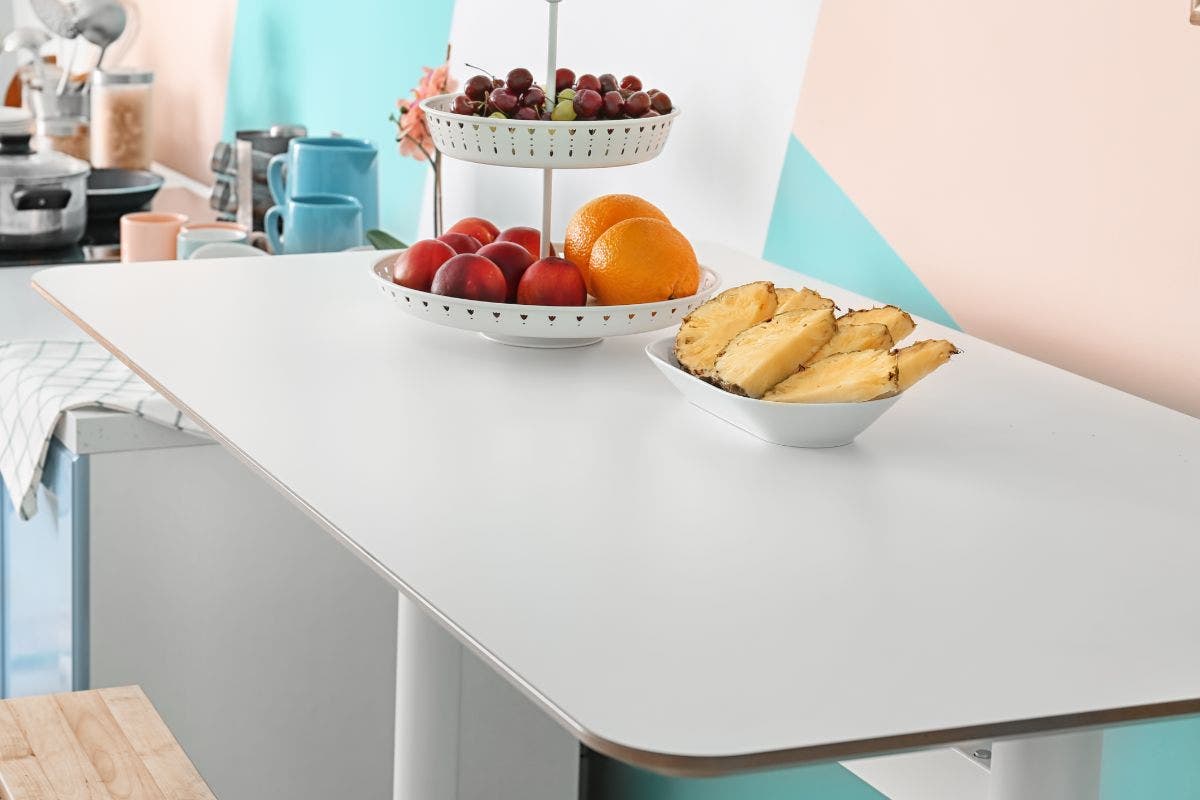
This tutorial will show you how to build a kitchen table in a weekend and it doesn’t cost much. You can do it with common materials, so it’s perfect to do it yourselfers.
It will also save you some money because buying new tables can be quite expensive depending on which one you want and this can be a good project for your new home.
This guide will be covering ways to build the best kitchen table for a regular sized kitchen, what material you will need and the step by step guide to easily make it yourself. Find out more here!
And there is a video at the end of the article as well if you prefer a video to reading.
Table of Contents
What Materials Should You Use?
There are lots of different types of wood you can use to make a kitchen table. However, it depends on what look you’re going for and the amount of money you are willing to spend on it. Most people go for tabletop wood.
The reason for this is because it’s extremely sturdy wood which is what you will need for a kitchen table which will need to have pressure and weight applied to it. Tabletop woods are maple, oak, cherry, and jonquil.
Materials You Need
- Lumber – Lumber is one of the original building materials used for construction. Learn about the many varieties of wood used for building purposes. four table legs made of 4 x 4 inch blanks. own lumber for your tabletop.
- Hardware tools – table saw, miter saw, or circular saw, wood glue and clamps.
- Sandpaper – also an electric sander
- Wood stain – you will always need to use cloths
- Pocket hold jig
- Power drill
- Screws
- Tape measure
- Gloves, masks, and goggles for when you are cutting wood to protect yourself.
What Are The Most Budget Friendly Materials?
There are a wide variety of different materials you can pick from depending on the color you are going for, or the texture, there will be something. Two of the more cost effective options for table tops are:
- Polypropylene (PP) is an important thermoplastic resin used in a wide range of applications. Polypropylene is used as a low-cost alternative to natural rubber. It has high tensile strength and resistance to heat, chemicals, and ultraviolet light.
- A glass tabletop is a modern and practical choice for the home. They not only offer the perfect and stylish aspect for your dining room, but they are also a great way to add a touch of style and elegance to your interior.
Discover the secret to a perfectly clean kitchen with our recommended degreasers.
How To Build A Simple Table

There are many different ways to make different styles and shapes of tables, but this guide will be teaching you how to build a simple table.
- First, cut a piece of lumber that is approximately 18 inches by 24 inches.
- When you are trying to measure the lumber, you want to keep them nice and straight and in place. Therefore, you will need to use clamps to keep them flat. You will want to cut the limber to the size table you wish to make.
- Have you fingered out which table top you would like? A lot of people will just use plywood. However, it has been questioned because of the durability of the material and strength of a tabletop. Therefore, you can go for more solid wood options of metal.
- You also need to think about the strength and thickness of the wood and what you will be putting on it. If you are looking for something stronger, than solid, think wood is better.
- You will need four wooden planks to a length of 29 ½ inches for your legs. You can get pre-cut lumber, or you can cut your own but you need to remember to wear goggles and gloves.
- You will now need to make angled pocket holes with your pocket hole jig. This will be on the wide sides of your planks.
- Glue the edge grains with the pocket holes together. You can then secure them with 2 ½ inch pocket hole screws.
- Now you can add your legs in. you can glue the legs to each corner of your table aprons. You can make these very secure with your screws.
- The last stage of your table is just sanding them down very well, then staining it to reach the color you want. The more you stain, the darker the color will become. You can then wipe the stain which is left off after drying to give it that perfect color and finish.
- If you are looking to put this table outdoors, you can also use waterproof polyurethane to protect it.
Top Tips
- You always need to make sure you are planning your design first. With any type of DIY project, it needs to be measured and planned well to make sure it goes right. Making sure it is drawn to scale is important because a table needs to be flat and have the right length so it is not wonky.
- You also need to be choosing the right wood for your project. You don’t want to be using something that isn’t sturdy enough for a table that will need to take pressure and weight well. It will also have to suit your kitchen or dining room as well. If you are a beginner with using wood, you will want to start with pine because it is a less expensive material in comparison to others.
- If you already have the measurements you need, you can get them to cut the wood for you at a hardware store if you don’t have all of these tools and equipment.
Conclusion
That’s it! The steps are pretty easy to follow and we hope you really enjoy your new table
Hopefully, you can make the table you want from this guide but always remember to plan first.
Related Reads
- 4 Types of Range Hoods to Never Buy! (And Why)
- Determining the Ideal CFM for Your Outdoor Range Hood (From the Pros)
- Does an outdoor kitchen need a vent hood?
- Who to Hire for Flawless Outdoor Range Hood Installation
- How to Clean Your Outdoor Hood (3 Simple Steps)


Comments are closed.