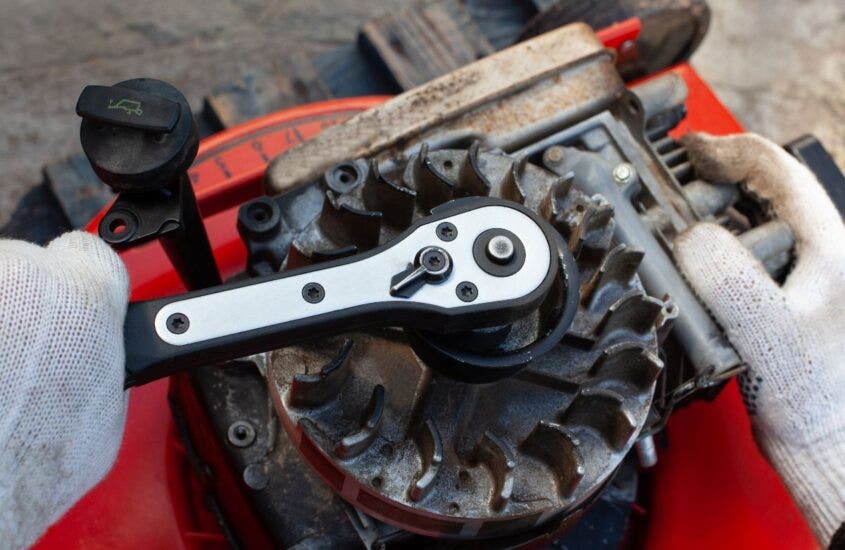
How To Set A Torque Wrench

Whether you’re a DIY-er or a tradesperson, your tool kit should always include a torque wrench.
This is a specialized tool that allows you to tighten nuts and bolts accurately.
Therefore, you can adjust them to certain levels, depending on the project.
Torque wrenches are typically used by mechanics, working on different vehicles, from cars to motorcycles, and vans to trucks.
But, the purpose of the tool remains the same – to tighten different things.
As well as in the automotive industry, torque wrenches are commonly used in the industrial and construction trades.
You can adjust a torque wrench by hand, therefore meaning you don’t need any other tools to use one.
When using a torque wrench, you must adjust the handle to set it to a certain, specific level of torque.
To lock this into position, you then tighten the end of the handle.
Once the tool has been tightened, you then fit it over a nut, bolt, or socket, and turn it clockwise to tighten the component.
Once tightened, you simply return the settings on the tool’s handle to 0 and place it back in your toolbox or somewhere safe.
That’s a brief summary of how to use a torque wrench but we want to go into detail on how to set one.
Therefore, you can use it for your next task with ease. So, read on as we guide you through the various steps of properly setting a torque wrench.
How To Set A Torque Wrench- Step-By-Step Guide
Step One
The first thing you’ll need to do is to adjust your torque wrench to the correct settings.
Start by loosening the tool’s tightener on the end of the handle.
This is usually made from plastic or has a metal cap sticking into the end of the tool. It is also typically a different color from the wrench itself.
To loosen this specific piece, twist the tightener anticlockwise.
There’s no need to remove this from the wrench. Simply loosen the piece until you can’t feel much resistance anymore.
Step Two
Now, you need to locate the torque measurements on the wrench and identify the numbers.
You will find these measurements close to the handle in the form of hash marks and numbers.
Typically, there is one set of large numbers on the wrench’s body and another set of smaller numbers on its handle. Larger numbers signify larger units and vice versa.
A torque wrench is measured in either foot-pounds (ft-lbs) or meter-kilograms (m-kg).
When you see two sets of numbers on the wrench, the lower numbers will be in foot-pounds, whilst the larger ones will be in meter-kilograms.
When you inspect the vertical side of the handle’s edge, you will find that this determines the baseline.
The rotation of the handle is what determines the smaller digits.
You can see where the wrench’s handle is set thanks to a centerline on the tool.
For instance, if you see that the edge of the handle is on the mark for 100, but the smaller number found on the handle is set at 5, the torque setting is set at 105 feet-pounds or 1,397 meters-kilograms.
Step Three
If you want to lower or raise the torque setting on your wrench, you can do so by turning the dial.
Loosen the tightener until there is little resistance, and then hold the body of the wrench using your non-dominant hand.
To raise it, adjust the handle clockwise, and to lower the setting, turn it anticlockwise.
Once you have found your desired hash mark, stop turning.
Sometimes, you will be looking to reach a specific number. To do this, raise the wrench’s handle to a hash mark that is within 5 foot-pounds (200 meter-kilograms) of your desired number.
For example, if you need to reach 140 feet-pounds (1,860 meter-kilograms), then you will need to raise the handle to the has mark position between 135 and 145 feet-pounds or 1,795-1,928 meter-kilograms.
Your specific torque wrench model may be designed slightly differently.
Some handles slide up and down, rather than being twisted. If this is the case, simply slide either up or down until you reach the number you require.
If you’re working on your car or bike, simply refer to the user manual to find out how much torque a nut or bolt needs before it is securely and safely set.
This is because all vehicles are different and require specific torque settings.
Step Four
Next, it’s time to twist the dial on the wrench’s handle. This is if you need to make small adjustments in the settings.
Once you have adjusted the settings close to your desired numbers, you need to take a look at the dial.
As you turn the handle, follow the readings. Do so by turning the handle slowly to keep track of the settings.
As you turn it clockwise, the numbers will increase. And, you guessed it, turning anticlockwise means the numbers go down.
You’ll also notice a few negative numbers after 0. Therefore, you can continue to move down after this point, if needed.
It’s important to note that some wrenches are made with dials that move independently of the handle.
You can simply twist these models by turning the dial, rather than the handle.
Step Five
To determine the total torque, add the smaller digit (on the handle) to the larger hash mark number.
Calculate your total torque to make sure it has been adjusted accurately.
Do this by adding the numbers together. For instance, if the dial reads 4 and the handle reads 50, the total torque will be 54 feet-pounds (718 meter-kilograms).
Step Six
Finally, you need to return the tightener back to the end of the torque wrench using your hand. This will lock it securely.
Flip the wrench back over to its handle and hold it with your non-dominant hand.
Twist the tightener clockwise until it can not move anymore. The handle is now securely tightened and ready to use.
In Summary
As you can see, setting a torque wrench is pretty straightforward.
We hope this How To Set A Torque Wrench guide has helped you so you can complete your next torque wrench task with ease and confidence.
- What are the different types of range hoods?
- 4 Types of Range Hoods to Never Buy! (And Why)
- Determining the Ideal CFM for Your Outdoor Range Hood (From the Pros)
- Does an outdoor kitchen need a vent hood? (From Experts)
- Who to Hire for Flawless Outdoor Range Hood Installation


Comments are closed.