How to Treat Wood for Outdoor Use

Do you have wood furniture for your outdoor patio or kitchen? If you take a few extra steps, you can ensure the wood lasts for years to come. If you leave untreated wood outside, it can age quickly. You don’t want that to happen!
To treat wood for outdoor use, you don’t need a professional. If you’re new, it can take some time to learn. We’ll show you three quick ways to do it and ensure you make as few mistakes as possible.
For a quick introduction to treating wood for outdoor use, check out the video below. This homeowner treats his Western red cedar table with West Systems epoxy and oil-based Epiphanes varnish.
It’s OK if you’re not familiar with what finish you want, the difference between the finishes, or how to apply them. We’ll go over all that and more in detail.
Table of Contents
Method 1 – Apply an outdoor-rated finish: polyurethane, lacquer, varnish, or epoxy.
You have several options for outdoor finishes. Four of the most popular are polyurethane, lacquer, varnish, and epoxy. Application techniques vary depending on the product, but we’ll give you a general idea of how to apply your finish.
Clean the wood completely before applying the finish. If the wood is already finished, sand it off before applying a new one.
Note: If you’re applying the same finish and it’s not too old, you don’t need to sand it off. Just clean the wood thoroughly.
Most wood finishes last several years. They are not permanent but definitely increase longevity. After you treat wood once, the process will go much quicker in the future!
Here’s the materials list; it’s not exhaustive but should cover the basics to get you started.
What You Need
- Your outdoor finish of choice: polyurethane, lacquer, varnish, or epoxy (refer to the can to determine the finish’s coverage)
- Paint stirring stick
- Bristle paintbrush
- Fine sandpaper
- Electric sander (optional)
- Vacuum cleaner
- A couple of rags
- Distiller if necessary: water for water-based sealants, mineral spirits for oil-based sealants
1. Lightly stir the finish.
If you stir the finish too vigorously, air bubbles can form which can make it difficult to apply.
2. Dip a bristle brush about halfway into the finish. Begin applying it as evenly as possible.
When applying your finish, go with the grain. Don’t overload the brush, as this can cause drips and an uneven coating.
3. Let the finish dry.
Wait two to four hours for water-based sealants, or about six to eight hours for oil-based sealants. Overnight is great too. When you let the finish dry, keep the furniture out of the sun. In colder months, keep it covered so it doesn’t get rained or snowed on.
4. Lightly sand the finish with fine sandpaper: 120 grit or finer.
The higher the number, the finer the sandpaper. As you apply more coats, use finer grit sandpaper. For example, ideally use finer grit sandpaper after your third coat compared to your first coat. Finer sandpaper is much gentler on the wood.
5. Wipe off excess dust.

6. Repeat steps 2-5 until you have three to five coats of your finish. The exact number of coats may vary depending on the type of finish.
Oil-based finishes require fewer coats than water-based finishes.
Again, this is just a general guide on applying finish to outdoor wood. Always defer to the manufacturer’s instructions when applying your finish, as not all finishes are the same.
Polyurethane
Polyurethane is a durable plastic resin. Polyurethane sealants come in different styles including gloss, semi-gloss, and satin. Satin is the least reflective of the three, while high gloss finishes are shiny. They reflect a lot of light.
When treating wood, you have the option of water-based polyurethane or oil-based polyurethane. Oil-based sealant takes longer to dry than water-based, but it doesn’t require as many coats. It’s also higher in VOCs than water-based polyurethane.
Oil-based poly requires mineral spirits, turpentine, or acetone to clean up, while water-based poly comes off with soap and water.
Polyurethane is available for indoor and outdoor use. You can use the outdoor sealant indoors, but not vice versa. So make sure you have the right product before starting your project!
Lacquer
Lacquer is an ultra-durable high-gloss finish made by dissolving tree sap in alcohol or turpentine. You can find lacquer in many different sheens. Lacquer thinner makes lacquer easier to apply to your wood finish.
It’s best to apply three to five coats of thinned lacquer to your wood. The fumes can be pretty unbearable so make sure to open windows and doors when applying this finish.
Varnish
Varnish is made up of drying oil (such as linseed oil), tree resin, and a solvent, like alcohol. Once applied, varnish hardens as the solvent evaporates. Depending on the solvent, some varnishes harden quickly while others take time to cure.
Varnish is highly water and UV-resistant It is thinner than most polyurethane solvents. It requires more coats and can take a long time to dry. Varnish is naturally glossy but you can find it in a wide variety of sheens.
When treating wood for outdoor use, look for varnish with high UV resistance. Marine varnish is a good option. This durable finish was originally used on boats and ships.
Epoxy
Epoxy is made up of epoxy resins, organic compounds that come from plants. It’s a durable finish often applied before varnish or lacquer.
Not all epoxy is rated for outdoor use. All epoxies will eventually yellow over time when exposed to sunlight, but those meant for outdoor use are more UV-resistant.
Check with the manufacturer before you start treating your wood. Some epoxy resins work well at filling in cracks in wood as the resin seeps into the hard-to-reach areas with ease. Not all epoxies are thin enough to do that, though. In the video above, a full coat of epoxy was applied, dried, and sanded down before applying the varnish.
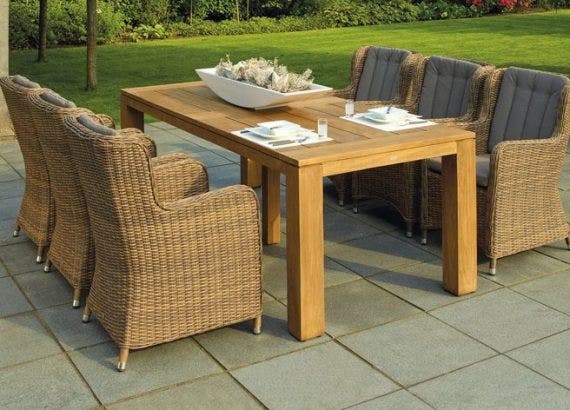
Method 2 – Seal with linseed oil or tung oil.
Linseed oil is made from flax seeds while tung oil is made from seeds of tung trees native to Southern China. These oils are typically combined with mineral spirits and polyurethane to make a durable finish for outdoor wood.
After you’ve applied the oil-based sealant, place any oily rags in water. As the oil dries, it generates heat and the rag can spontaneously combust. After it soaks in water for a few minutes, ring out the rag and let it dry before throwing it out. Do not reuse oily rags.
We’ll go over the step-by-step process to make and apply this sealant.
Here’s the materials list; it’s not exhaustive but should cover the basics to get you started.
What You Need
- Tung or linseed oil
- Polyurethane
- Mineral spirits
- Wood stirring stick
- Bristle paintbrush
- Fine sandpaper
- Electric sander (optional)
- Vacuum cleaner
- A couple of rags
1. Combine one part tung or linseed oil, one part polyurethane, and one part mineral spirits.
Here are a few Amazon links for linseed oil, tung oil, and mineral spirits.
2. Stir the mixture thoroughly but gently to avoid forming air bubbles.
3. Dip a wall paintbrush halfway into the finish. Apply the sealant with the grain.
Make sure the wood is cleaned and sanded before you apply the finish. In between coats, sand your wood with fine sandpaper once dried.
Oil-based sealants yellow over time. So this finish is best on dark woods like walnut or cedar rather than light woods like pine.
4. Let the oil soak into the wood for a few minutes. Reapply oil to any dry areas.
5. Wipe off all excess oil so it absorbs evenly into the wood,
6. Let the wood dry for roughly six to eight hours. If your sealant has more oil, it will take longer to dry.
7. Sand the wood with 120-220 grit sandpaper or finer. As you paint additional coats, use finer sandpaper.
8. Repeat steps two to seven until you’ve painted about three to five coats. Oil-based sealants require fewer coats than water-based sealants.
Method 3 – Use an all-in-one stain-sealant combo.
Stain sealant combos add color and a durable finish to your outdoor wood. Here’s a stain-sealant combo from Amazon that works great. If you like the look of unfinished wood, stay away from stain-sealant combos. Stain-sealants typically last a couple of years before they need to be reapplied.
Do I use a brush or paint sprayer to apply an outdoor finish?
Typically, brushing is better because it allows more of the sealant to soak into the wood than a sprayer. Using a paint sprayer is faster than a brush but more surface level. Spraying also doesn’t leave brush strokes.
Diluting Sealants
Oil-based sealants
You can thin oil-based sealants with turpentine, acetone, or mineral spirits. Most people go with three or four parts sealant to one part mineral spirits. If the finish is particularly thick, you can go with half spirits and half finish.
Water-based sealants
Thin water-based sealant with water. You can use similar ratios to thinning oil-based sealants: three to four parts sealant to one part water. Add water in small quantities and mix the sealant so you can ensure you get the right consistency.
Applying Finish to Previously Finished Surfaces
If you’re applying the same finish that was used before – and it’s not too old – just clean the surface well. Then dry it and reapply your finish.
if you’re applying a different finish, it’s discolored, or it’s severely aged, then remove the old one. The coarser the sandpaper, the easier the finish will come off. If sanding isn’t working or takes too long, use a paint or stain stripper to remove the old finish. Don’t use steel wool as it can lead to rusting.
Applying finish over paints and stains may change the color of your finish. Chances are high it won’t look attractive.
Recap
We know that was a lot of information! Hopefully you learned something from this post to help you treat your wood for the outdoors! Remember that you have three methods to treat your wood:
- Use an outdoor-rated finish like polyurethane, epoxy, lacquer, or varnish.
- Make a natural oil finish with one part tung or linseed oil, one part mineral spirits, and one part polyurethane.
- Use a stain sealant combo that gives your wood some color and a durable finish all in one.
What are the best types of wood for outdoor furniture?
Cedar, teak, and redwood are the most popular types of wood for outdoor furniture due to their natural resistance to decay and rot.
How do I prepare wood for outdoor use?
Start by cleaning the wood thoroughly to remove any dirt, debris, or previous finish. If the wood is already finished, sand it off before applying a new one. Once the wood is clean, you can apply a sealant or protective finish.
What type of finish should I use for outdoor wood?
There are several types of finishes that work well for outdoor wood, including polyurethane, lacquer, varnish, and epoxy. Choose a finish that is appropriate for your specific project and follow the manufacturer’s instructions for application.
How many coats of finish do I need to apply to outdoor wood?
The number of coats you need to apply will depend on the type of finish you choose and the level of protection you desire. In general, three to five coats of finish are recommended for most outdoor projects.
How often should I reapply finish to outdoor wood?
The frequency of reapplication will depend on the type of finish and the level of exposure to the elements. In general, it’s a good idea to reapply finish every year or two to ensure maximum protection.
Can I use indoor finishes on outdoor wood?
Indoor finishes are not recommended for outdoor use as they are not designed to withstand the harsh elements of nature. Always use a finish that is specifically designed for outdoor use.
How do I maintain my outdoor wood furniture?
Regular maintenance is important to keep your outdoor wood furniture looking its best. This includes cleaning the furniture regularly, reapplying finish as needed, and storing the furniture in a covered area during the off-season.
Can I paint outdoor wood furniture?
Yes, you can paint outdoor wood furniture. However, it’s important to use a paint that is specifically designed for outdoor use and to properly prepare the wood surface before painting.
Can I stain outdoor wood furniture?
Yes, you can stain outdoor wood furniture. However, it’s important to use a stain that is specifically designed for outdoor use and to properly prepare the wood surface before staining.
How do I find a lumber store near me?
If you’re looking for lumber near you, the first step is to search for a lumber store near me. This will help you find a local supplier of high-quality lumber for all your building and DIY needs. Whether you’re working on a home renovation project or building a new deck or fence, having access to quality lumber is essential.
Once you’ve found a lumber store near you, it’s important to choose the right type of lumber for your project. There are many different types of lumber available, including hardwoods, softwoods, and treated lumber. Your choice will depend on your specific needs and budget.
One important consideration when working with wood is protecting it from the elements. This is where wood sealers come in. Outdoor wood sealer is designed to protect wood from moisture, UV rays, and other environmental factors that can cause it to deteriorate over time. Look for a high-quality wood sealer that is specifically designed for outdoor use, and follow the manufacturer’s instructions for application and maintenance. With the right lumber and wood sealer, you can create beautiful and durable outdoor structures that will last for years to come.
If you’re looking to build or restore outdoor wood projects, finding a quality lumber supplier near you is key. For durable exterior woods like cedar, check local hardwood suppliers and lumber suppliers near me. Cedar is naturally resistant to rot, decay, and insects, making it ideal for outdoor furniture, decks, and other outdoor cedar furniture projects. When working with cedar or any wood, properly sealing the surface is crucial for longevity. Look for exterior wood sealers and waterproofing products specifically formulated for outdoor use. Top choices like Thompson’s WaterSeal can protect cedar furniture and lumber from moisture damage. With high-quality lumber and the best waterproofing for wood, you can create stunning, long-lasting cedar projects for your outdoor space.
For more tips on selecting lumber suppliers, sealing exterior cedar, and caring for outdoor wood furniture and outdoor cedar furniture, explore the rest of our outdoor living content. Discover how to build and maintain pieces like patio tables, pergolas, outdoor kitchens, and more using weather-resistant woods. Achieving a beautiful, durable outdoor living area is easy with the right materials, prep work, and maintenance.
Proline’s Collection of Outdoor Range Hoods
When it comes to outfitting your outdoor kitchen, a high-quality range hood is an absolute must-have. When customers turn to our top-performing range hoods for their outdoor space we have a couple that we recommend all the time.
These models combine powerful air movement capabilities with sleek designs made from durable 304 stainless steel. We have lots of other great options, but these stand out as top contenders.
For those seeking uncompromising power, the Proline PLJW bbq.42 and PLJW 129.42 models boast an impressive 2000 CFM dual blower system.
This beastly ventilation capacity ensures even the heartiest outdoor cooking sessions remain smoke-free every time. Both hoods are crafted from durable 304 stainless steel to withstand the elements. While the PLJW bbq.42 features a sleek LCD touch panel, the 129.42 keeps things classic with user-friendly push-button controls.
If a slightly lower CFM rating meets your needs, the Proline PLJW 104.48 could be the perfect fit. This 48-inch range hood packs a robust 1200 CFM dual blower into its stainless steel body, providing ample ventilation. Ease of use is at the forefront with this hood’s backlit knob controls and four speed settings.
For the ultimate in indoor-outdoor versatility, look no further than the PLJW 109.48. This multitalented 48-inch hood can be installed as an under-cabinet unit or wall-mounted above your cooktop. Its whopping 2000 CFM dual blower rivals those of the dedicated outdoor models. An LCD touchscreen offers precise control over the four speed levels and built-in LED lighting.
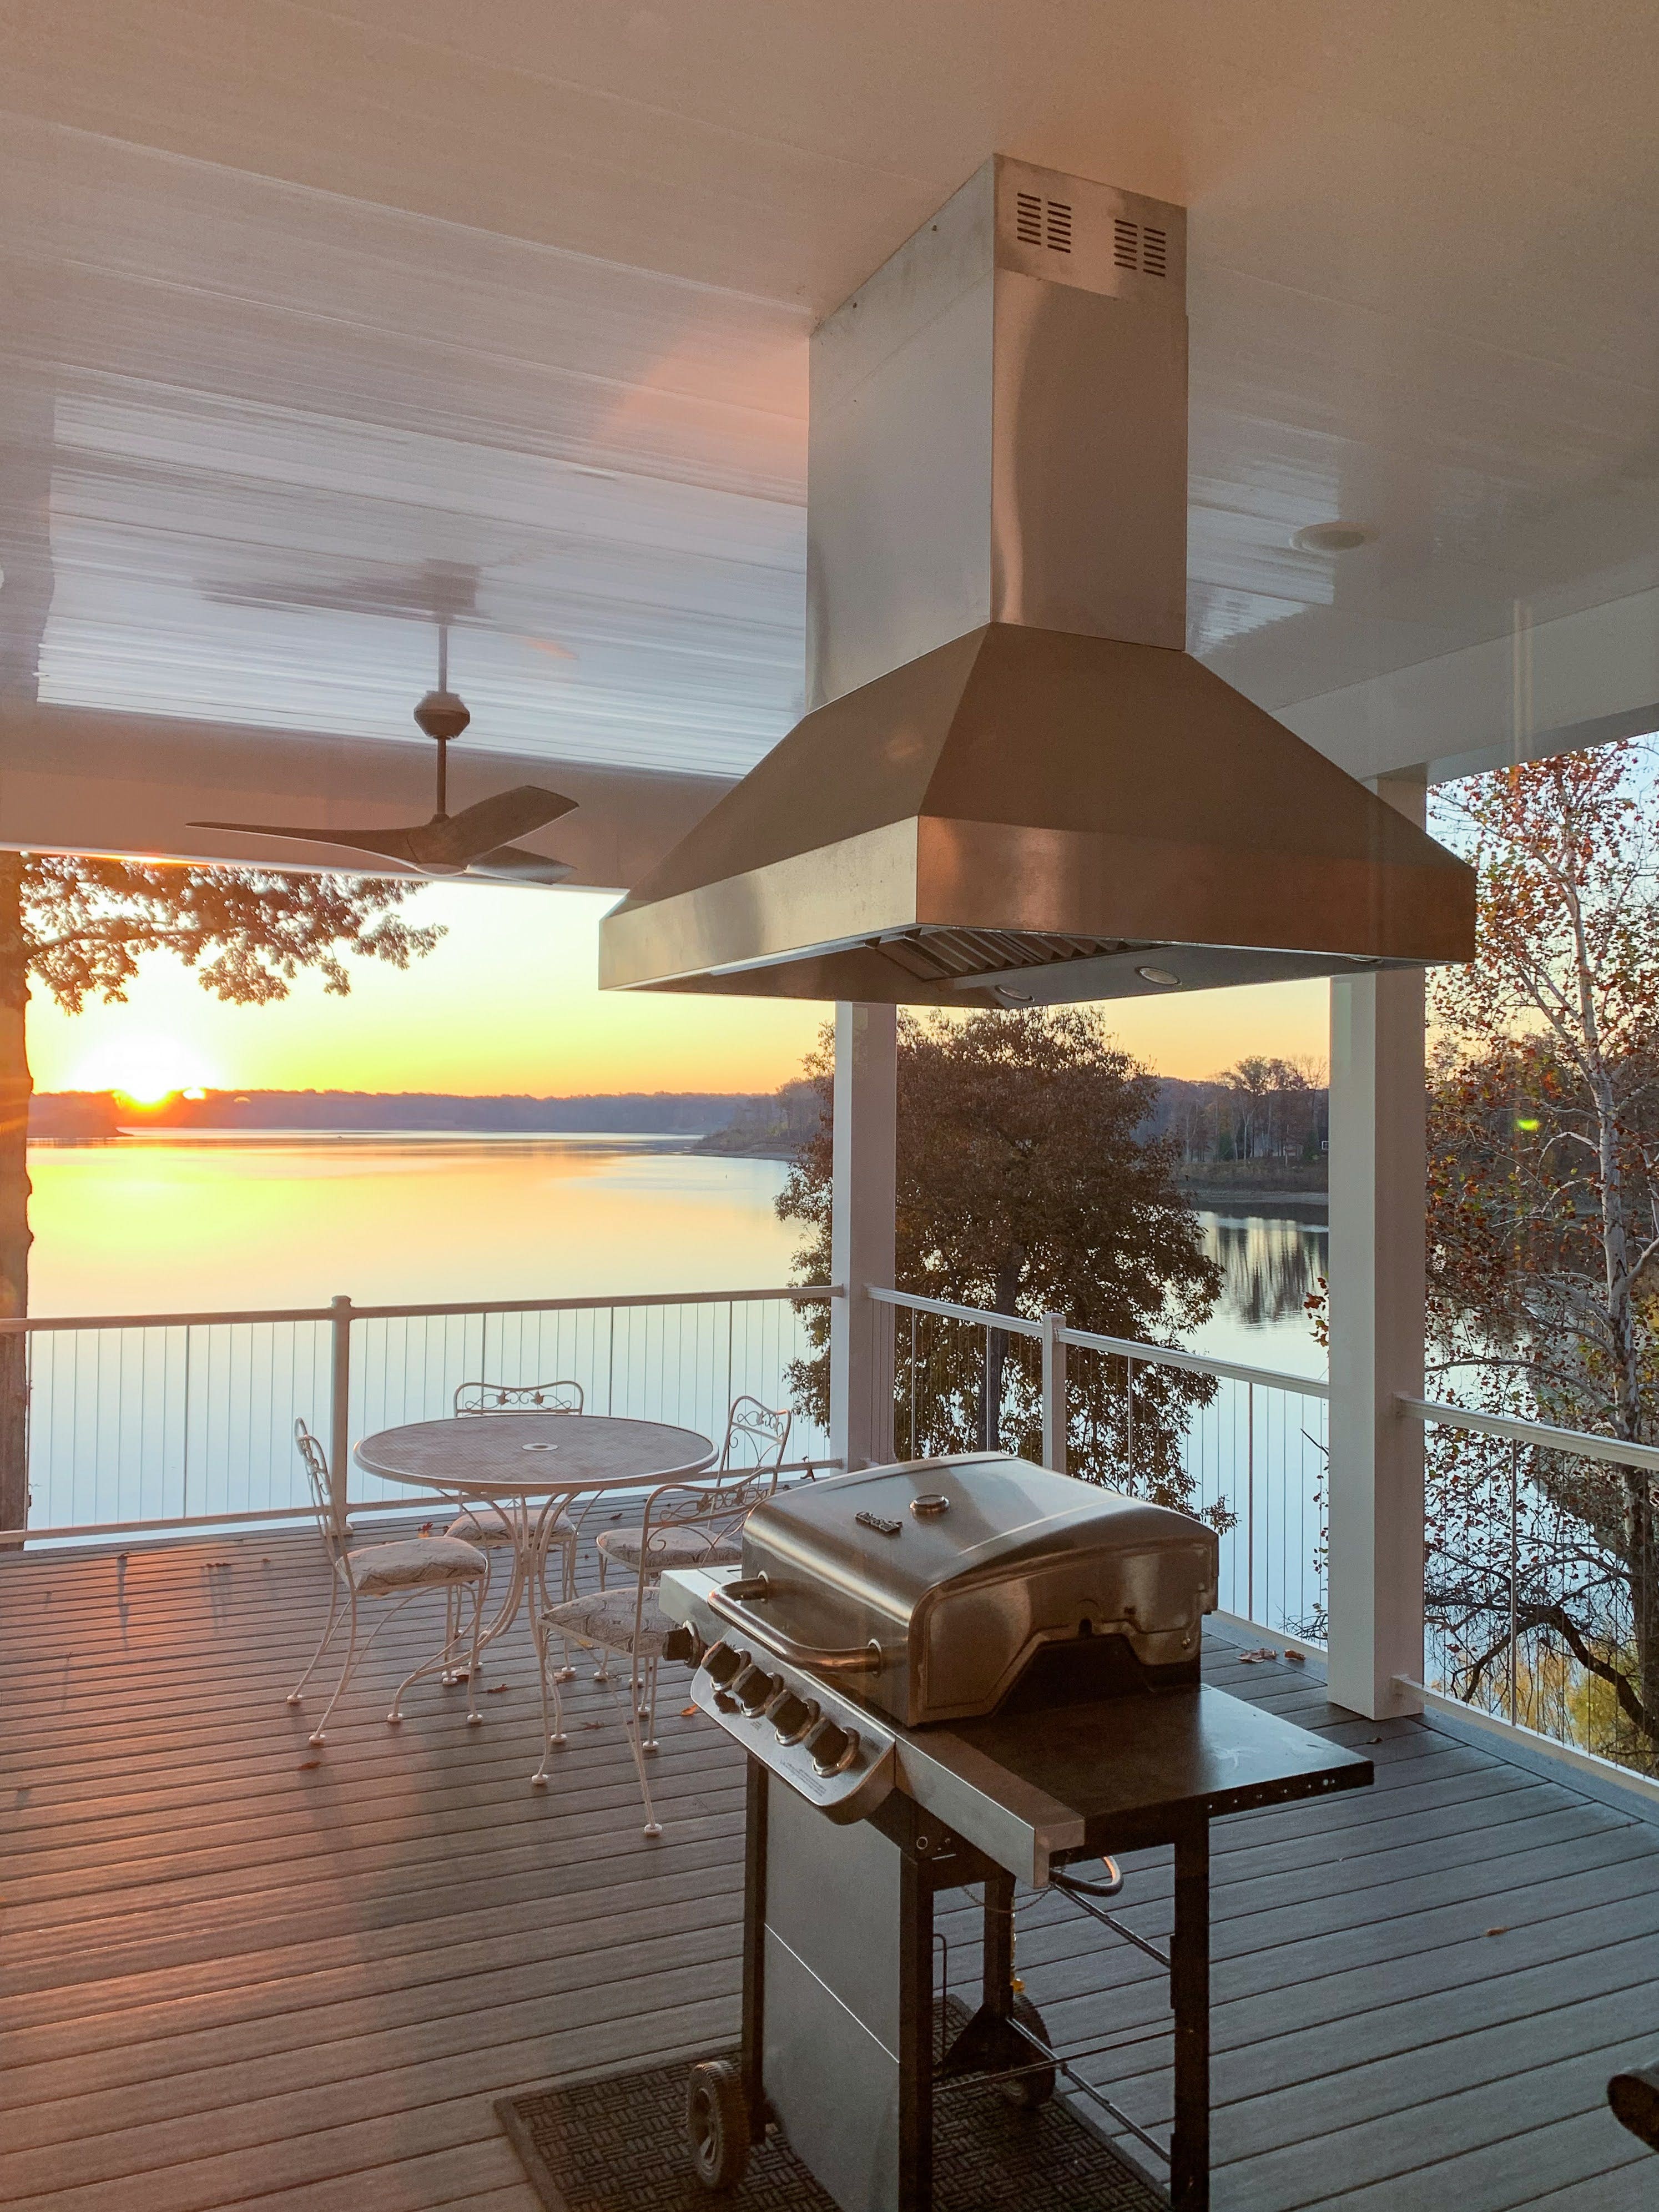
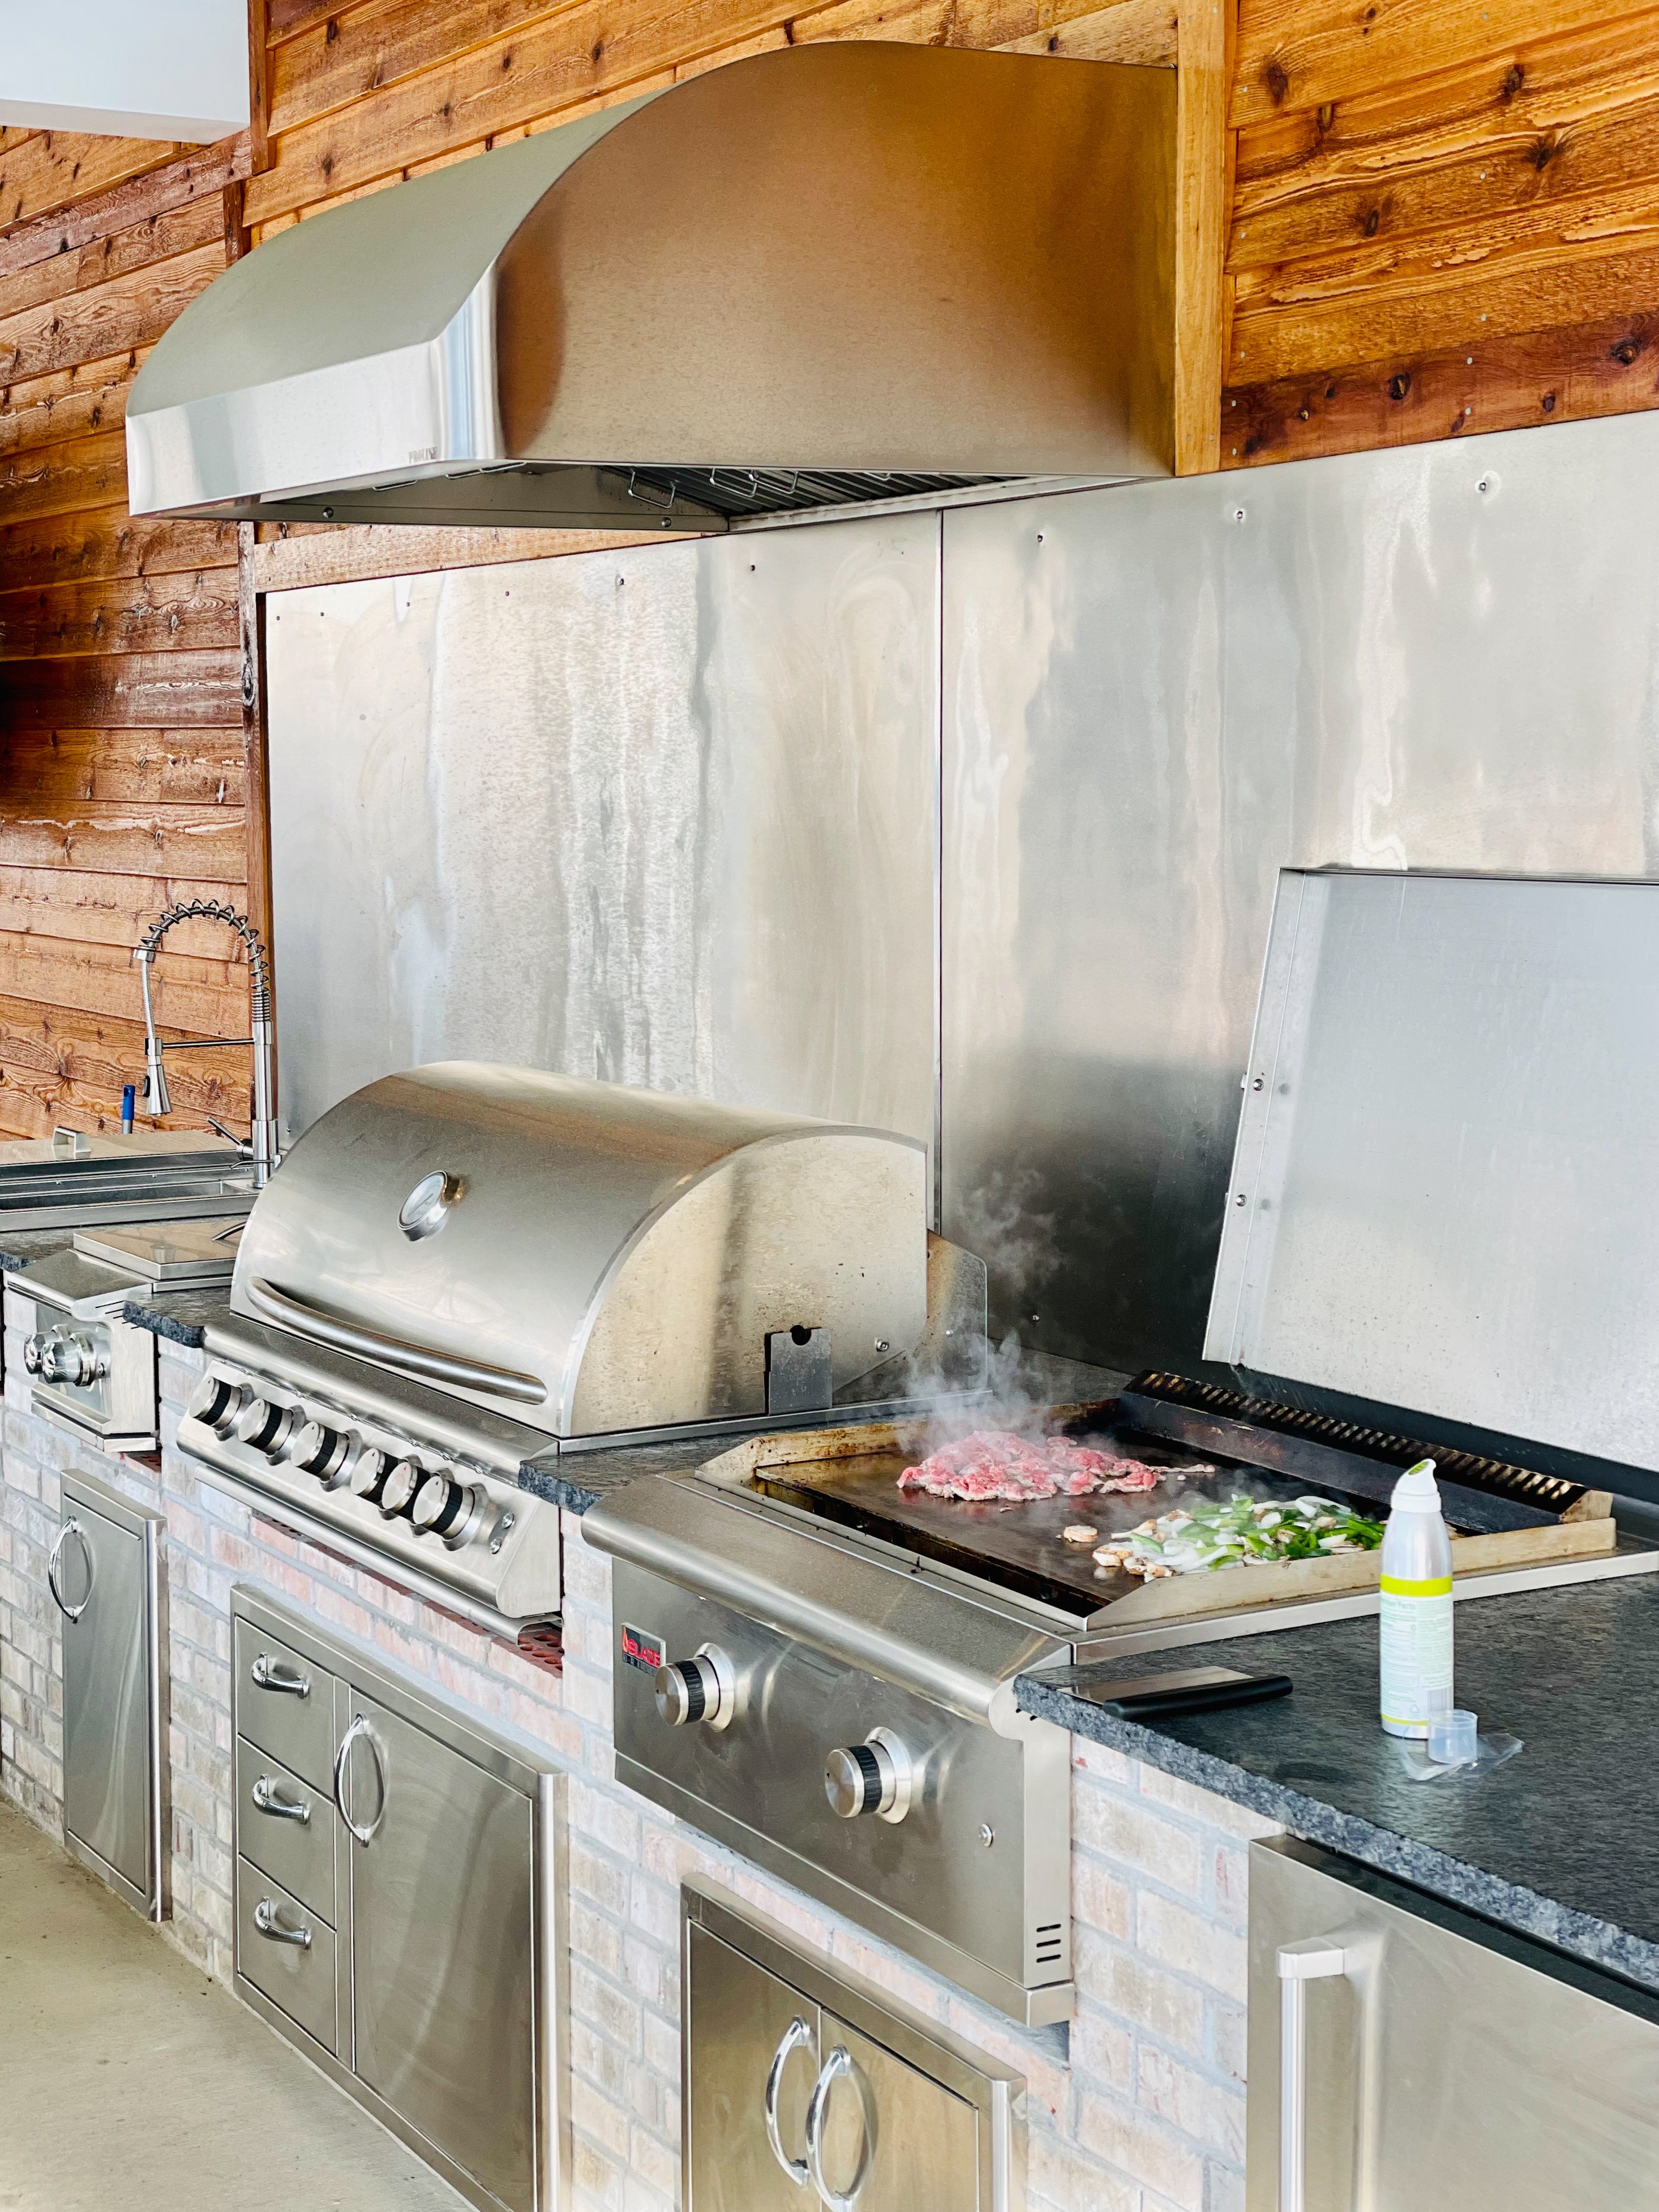
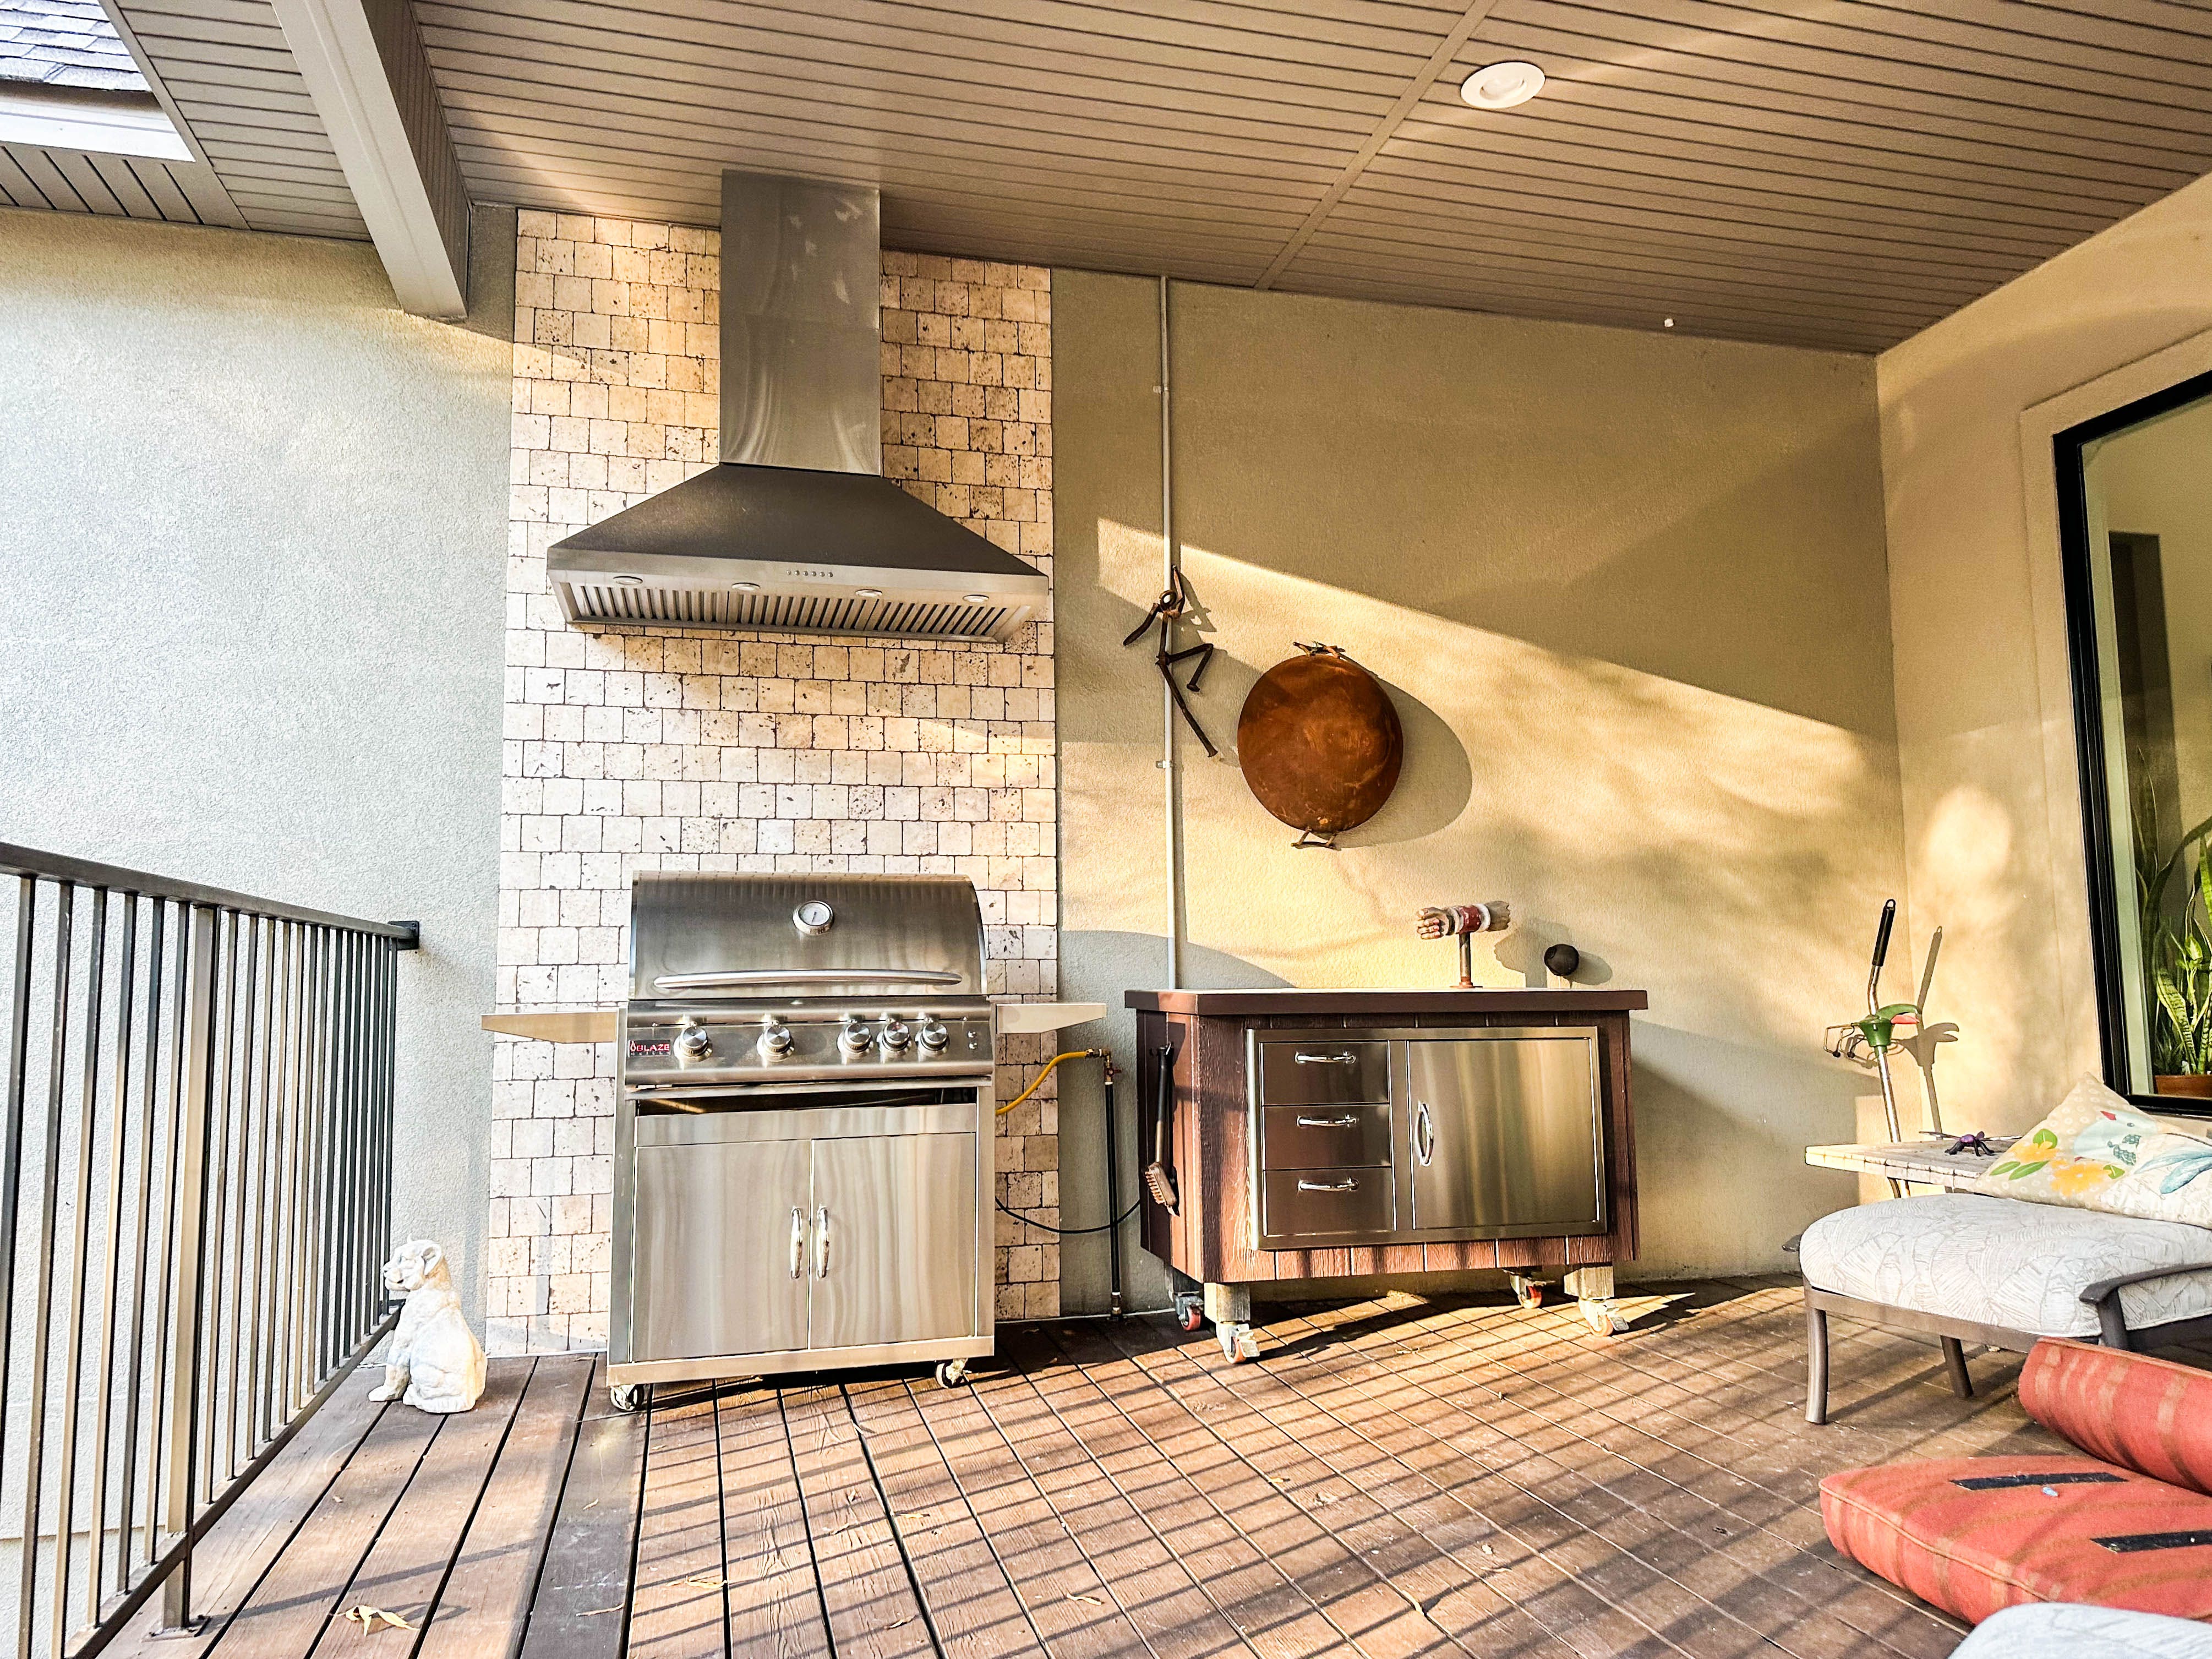
No matter which Proline range hood you choose, you can expect a long-lasting, high-performance addition to your culinary haven. With features like dishwasher-safe baffle filters and dimmable lighting, these hoods blend power with convenience. While higher CFM models may produce more noise, their robust ventilation ensures your outdoor cooking remains a pleasure, not a smoke-filled hassle.
If you want to browse our entire collection of outdoor range hoods, we invite you to click here.
We offer a range of sizes, styles, and ventilation capacities to suit any outdoor kitchen setup.
Our knowledgeable sales staff will be happy to guide you through the available options and help you select the perfect hood for your needs and outdoor space. From budget-friendly models to top-of-the-line powerhouses, you’re sure to find an outdoor range hood from Proline that checks every box on your list.

We take pride in our quality construction using premium materials like 304 stainless steel. So browse our full lineup today and let us outfit your outdoor kitchen with the ventilation it deserves.
Check out more of our outdoor content at the links below!
Related Articles
How to Clean Outdoor Furniture (Complete Guide)
How to Make Outdoor Furniture Last
As an Amazon Affiliate, we may earn from qualifying links.





Comments are closed.