How To Sharpen Drill Bits

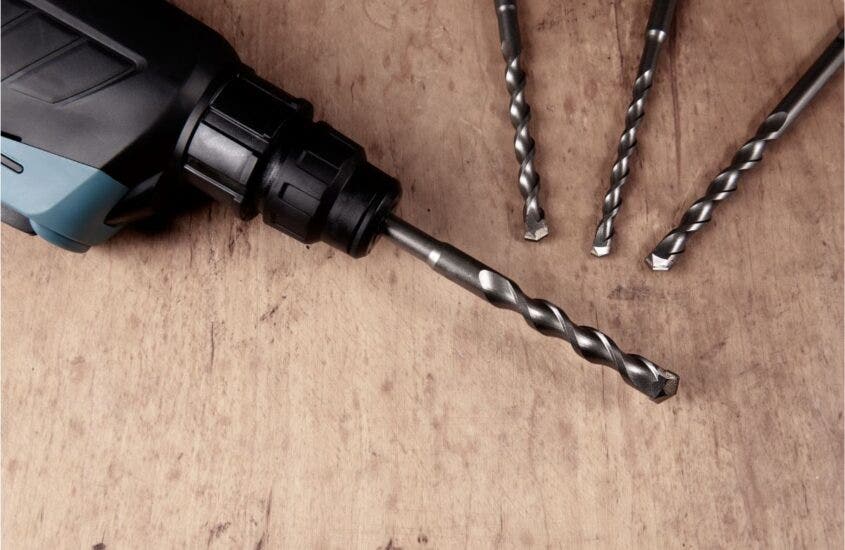
If you have tried drilling something and found that your drill bits are not cutting as they should be, it could be down to your drill bits having gone dull.
Maybe you have noticed some smoke blow up when you’re trying to drill through soft metals or wood.
Or, there are shrieking noises emanating from the drill heads. Of course, this can be alarming but it doesn’t mean your actual drill is damaged.
And, you may not need to head to the store and purchase brand-new drill bits.
You can save time and money by sharpening your drill bits to return them to their former glory.
We’re not going to lie – sharpening drill bits can be a little challenging.
But, with the right guidance, you can do so and start using your drill to complete those pesky DIY tasks once again.
Today, we have compiled this step-by-step guide to show you how to successfully sharpen your drill bits, so your next task can go smoothly and safely.
Let’s get started.
Table of Contents
Supplies You’ll Need
Before you start, you will need to gather some materials and supplies. You will require:
- Safety goggles
- A bench grinder
- Work gloves (these are optional, as some find they do not provide a firm enough grip on the drill.)
- A bucket of ice-cold water
How To Sharpen Drill Bits – Step-By-Step Guide
Step One – The first thing you need to do is to take a close look at your drill bits.
When sharpening these, you should aim to only remove enough metal until the edge is sharpened.
If you take a look at your bench grinder, you should see two grinding wheels.
One of these is fine, and the other is coarse. If you see that the bits have extremely worn, begin using the coarse grinding wheel. Then, you can move on to the finer wheel later on.
If your drill bits don’t look too worn, you can start with the fine grinding wheel.
Step Two – It’s time to put on those safety goggles and switch on the bench grinder.
Get a secure, firm grip on your drill and hold its cutting edge perfectly parallel to the grinding wheel’s front.
Now, slowly and carefully move the drill bit until it comes into contact with the grinding wheel.
Make sure you do not rotate the drill here. Just keep it very straight, holding it at its factory angle (this is typically 60 degrees).
Step Three – Here, you need to hold your drill bit at a 60-degree angle against the grinding wheel, but only for four to five seconds.
Your aim here is to grind the worn, dull surface of the bit away, rather than wear it down fully.
You need to grind the bit’s heel. This is where the tip of it is met with the twisted shaft and not its edge.
This is the perfect angle, as the drill bit will not bore evenly or smoothly when at the wrong angle.
Step Four – After four to five seconds, take a break from grinding and dip your drill bit into ice-cold water.
This will effectively cool the metal down. If the metal doesn’t cool, the bit will be too hot to hold.
Moreover, this could end up wearing the metal down further, and cutting the lifespan of the drill bit significantly.
When the drill bit is cool enough to touch again, examine it to check whether it has been ground to a sharp point on one side.
Step Five – When you are happy that the point on the first side you have ground is sharp enough, move the drill bit 180 degrees and repeat the process on the other side of the bit’s tip.
Doing both sides will result in the drill being able to drill accurate, straight holes every time.
You can sharpen each side just a little by holding the drill bit in your dominant hand.
Then, flip the bit 180 degrees after a few seconds of grinding back and forth to achieve equal sharpening on both sides.
Step Six – Give the bit a trial run once the drill tip has a precisely honed tip and both edges are sharp and of equal width.
Take the drill bit’s tip in your hand and hold it so that it is perpendicular to a piece of wood.
Then, twist the bit into the wood. If the drill bit is sharp enough, it should already start to form a hole in the material’s surface.
If no hole starts to appear, you will need to inspect the drill bit again and continue grinding it on the wheel.
As always, though, you should do so with a 60-degree angle on the bit’s point, having equal widths on both sides.
For many, this takes several attempts, so don’t feel like you’re doing it wrong.
It’s normal to go back and forth to the grinding wheel until you achieve a sharp drill bit tip.
Over time, with more practice, you will find the trips back and forth to the wheel will get shorter and shorter.
Step Seven – Once you are satisfied with the sharpness of your drill bit, place it back into your drill and test it once again on a piece of wood.
If it is sharp enough, it should bite the wood immediately with only a small amount of pressure.
When you take the drill bit out of the wood, wood chips should start to emerge.
This is a sign that your drill bit is now sharp enough to start using again.
In Summary
It is essential that you maintain your tools so they are up to the tasks required of them.
This is especially true of drill bits, as they can become dull after continued use.
As you can see, sharpening drill bits is a little time-consuming, but a process that every DIY-er will need to do at some point.
Other Articles
- What are the different types of range hoods?
- 4 Types of Range Hoods to Never Buy! (And Why)
- Determining the Ideal CFM for Your Outdoor Range Hood (From the Pros)
- Does an outdoor kitchen need a vent hood? (From Experts)
- Who to Hire for Flawless Outdoor Range Hood Installation


Comments are closed.